The Blue Yeti microphone is a popular and user-friendly device for recording audio. It’s known for its ease of use and high-quality sound capture. Whether you’re a podcaster, gamer, or content creator, the Blue Yeti is a reliable choice for clear and professional audio recordings.
Unlock the secrets of crystal-clear audio with the Blue Yeti microphone! Wondering, how to use Blue Yeti Microphone? Dive into a world of effortless recording and pristine sound quality as you master the art of harnessing the full potential of your Blue Yeti microphone for unparalleled audio experiences.
To use the Blue Yeti microphone, simply plug it into your computer’s USB port. Adjust the microphone gain using the knob on the back for optimal audio levels. Select the cardioid, bidirectional, or omnidirectional mode based on your recording needs using the pattern selector on the front, and you’re ready to capture high-quality audio.
Blue Yeti Setup Guide
Setting up your Blue Yeti microphone is easy! First, unpack the microphone and find a quiet place to work. Next, connect the USB cable to your computer.
Adjust the microphone settings in your computer’s audio settings, and you’re ready to start recording crystal-clear audio with one of the Most Expensive Microphones in the world. Now you’re all set to enjoy a professional-quality setup with your Blue Yeti microphone.
Is your Blue Yeti not working?
Experiencing issues with your Blue Yeti? First check the USB connection to ensure it’s securely plugged in. Verify that the microphone is selected as the input device in your computer’s settings.
If the issue persists try restarting your computer or testing the microphone on another device. For further assistance, consult the Blue Yeti manual or reach out to customer support.
How to set up a Blue Yeti for streaming?
Setting up your Blue Yeti for streaming is a breeze! Begin by connecting the microphone to your computer using the provided USB cable. Ensure it’s securely plugged in.
Open your streaming software (like OBS or Streamlabs) and select the Blue Yeti as your audio input device. Adjust the microphone gain to achieve the desired audio levels.
Position the Blue Yeti correctly consider using a shock mount or boom arm for optimal placement.
Test the audio settings by doing a quick recording or streaming session to make sure everything sounds good. With these simple steps your Blue Yeti is ready to enhance your streaming experience with high-quality audio.
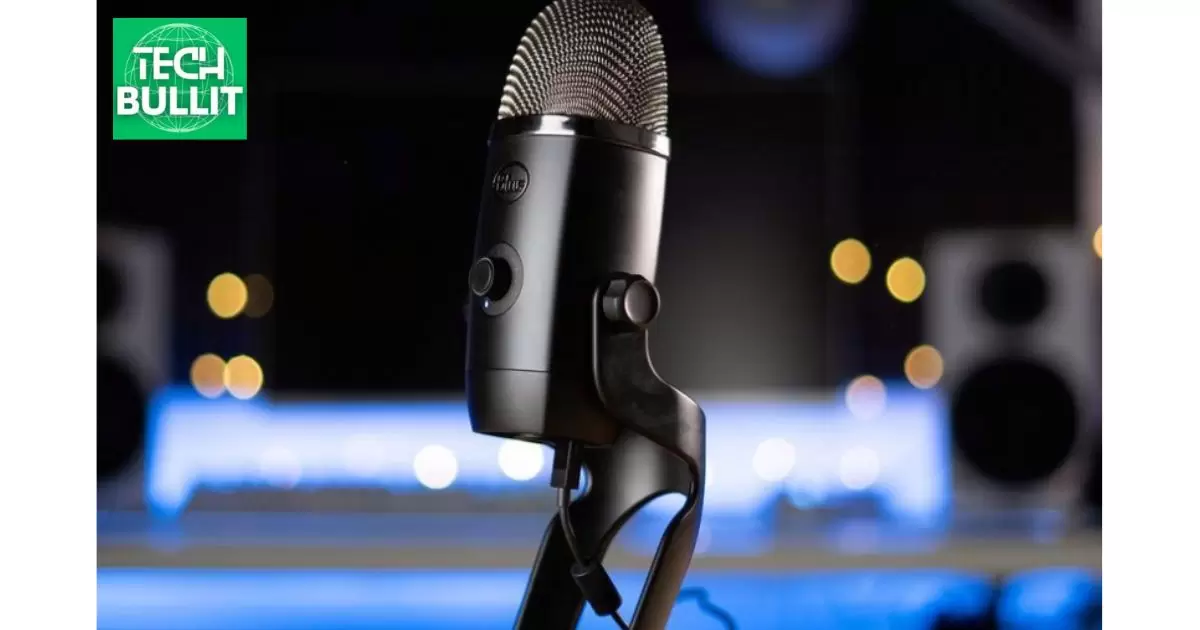
The Blue Yeti is a Side Address Microphone
The Blue Yeti is a side-address microphone meaning you speak into the side of the microphone where the logo is located. Ensure the side with the volume controls and the Blue logo is facing toward you for optimal performance.
This design allows the Blue Yeti to capture sound effectively from the front while minimizing noise from the sides and rear. Happy recording!
Using the 4 Modes of the Blue Yeti Microphone
The Blue Yeti microphone comes equipped with four different recording modes each serving a specific purpose:
- Cardioid Mode:
- Use: Ideal for solo recordings or streaming.
- How to: Position the Blue Yeti with the front (where the logo is) facing towards you. This mode captures sound from the front and minimizes background noise.
- Bidirectional Mode:
- Use: Perfect for interviews or two-person podcasts.
- How to: Place the Blue Yeti so that the front and back sides capture sound, making it suitable for recording from two opposite directions.
- Omnidirectional Mode:
- Use: Great for capturing sound from all directions.
- How to: Place the Blue Yeti in the center of the recording space to pick up audio equally from all sides. Useful for roundtable discussions or capturing ambient sound.
- Stereo Mode:
- Use: Creates a realistic two-channel stereo effect.
- How to: Position the Blue Yeti so that the left and right channels correspond with the sound source. Great for recording music or creating immersive audio experiences.
Setting the Gain of Your Blue Yeti Microphone To As Low As Possible
Setting the gain of your Blue Yeti microphone as low as possible can help reduce background noise and maintain clear audio quality. Here’s a simple guide:
Locate the Gain Control:
Identify the gain control knob on the back of your Blue Yeti. It’s usually located near the headphone jack.
Turn the Knob Counterclockwise:
Rotate the gain control knob counterclockwise to decrease the gain. Set it to the lowest position while still capturing your voice at an acceptable volume.
Monitor Your Levels:
Connect headphones to the Blue Yeti’s headphone jack and monitor the audio levels. Ensure your voice is audible without any distortion while minimizing background noise.
Adjust Software Settings:
Open your computer’s audio settings or streaming software and fine-tune the input volume to complement the low gain setting on the Blue Yeti.
Test and Refine:
Record a short sample or conduct a test stream to confirm the audio quality. If needed, make slight adjustments to find the optimal balance between capturing your voice and minimizing unwanted noise.
Don’t Speak Too Near The Blue Yeti Microphone
Here’s a table summarizing the recommended distance for speaking with the Blue Yeti microphone to achieve optimal audio quality:
| Recording Mode | Recommended Distance | Tips |
| Cardioid | 6-12 inches (15-30 cm) | Ideal for solo recordings or streaming. Speak into the front of the microphone. |
| Bidirectional | 6-12 inches (15-30 cm) | Suitable for interviews. Position speakers on opposite sides, facing the microphone. |
| Omnidirectional | 12-18 inches (30-45 cm) | Great for capturing sound from all directions. Center the microphone in the recording space. |
| Stereo | 6-12 inches (15-30 cm) | Use for music recording. Position sources appropriately for left and right channels. |
Remember maintaining a consistent and appropriate distance from the Blue Yeti helps capture your voice clearly while minimizing background noise. Adjust the distance based on your specific recording or streaming needs.
How to setup a Blue Yeti for podcasts, streaming, and YouTube
Setting up your Blue Yeti for podcasts, streaming, and YouTube is a straightforward process to ensure professional audio quality.
1. Podcast Setup:
For podcasting, use the Cardioid mode on your Blue Yeti. Set up the microphone on a desk or a boom arm about 6-12 inches away from your mouth.
Adjust the gain to capture your voice clearly without picking up excessive background noise.
Connect the Blue Yeti to your computer via USB and select it as the input device in your recording software.
Conduct test recordings, and when satisfied you’re ready to start podcasting with crisp and clear audio.
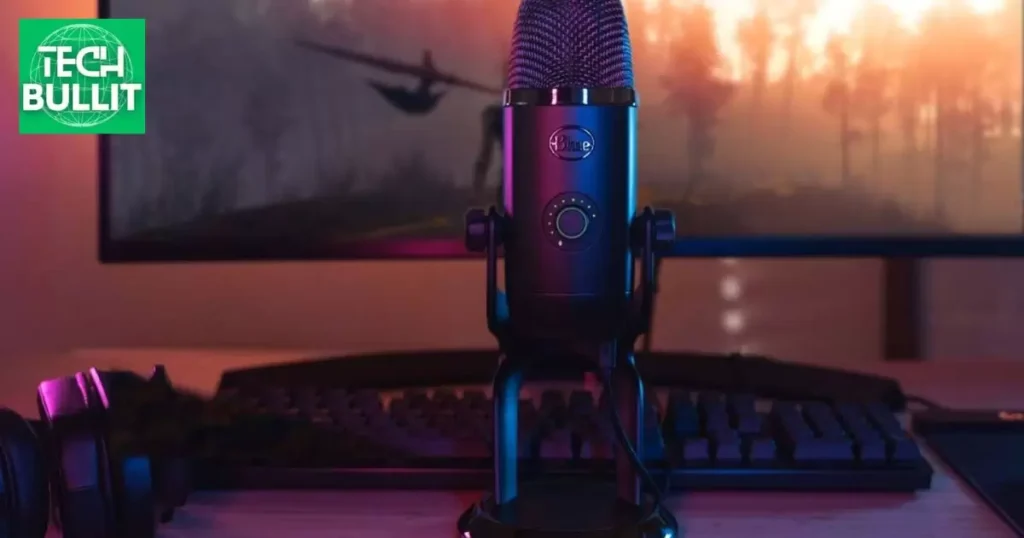
2. Streaming Setup:
When streaming the Cardioid mode is also recommended. Place the Blue Yeti in a stable position on your desk or use a shock mount to reduce vibrations.
Connect the microphone to your computer and select it as the audio input source in your streaming software (e.g., OBS or Streamlabs).
Ensure the gain is set appropriately to capture your voice without distortion. Add a pop filter to minimize plosive sounds.
This setup ensures your streaming audience enjoys high-quality audio during your broadcasts.
3. YouTube Setup:
For YouTube content creation, adapt the Blue Yeti to the specific type of video. In Cardioid mode for solo videos, position the microphone about 6-12 inches away.
For interviews or collaborative content consider Bidirectional mode and place the microphone between the speakers.
Set up a quiet recording environment, and ensure the gain is adjusted for optimal audio quality.
Connect the Blue Yeti to your recording device and you’re all set to produce professional-sounding videos for your YouTube channel.
In all setups regularly monitor your audio levels conduct test recordings and make adjustments as needed to achieve the best results for your specific use case.
The Blue Yeti’s versatility and ease of use make it an excellent choice for podcasting, streaming, and YouTube content creation.
Setting Up Your Blue Yeti Microphone

Setting up your Blue Yeti microphone is a simple process to ensure high-quality audio for your recordings or broadcasts. Follow these steps:
1. Unpack and Connect:
Unbox your Blue Yeti and find a suitable location for it on your desk. Connect the microphone to your computer using the provided USB cable. Ensure a secure connection.
2. Choose the Right Mode:
- Identify the recording mode based on your use case:
- Cardioid for solo recordings or streaming.
- Bidirectional for interviews.
- Omnidirectional for capturing sound from all directions.
- Stereo for music recording.
3. Position the Microphone:
Set up the Blue Yeti on a stable surface or use a shock mount for reduced vibrations. For optimal results speak into the front (where the Blue logo is) of the microphone.
4. Adjust Gain and Volume:
Locate the gain control knob on the back of the Blue Yeti. Set the gain to an appropriate level – not too high to avoid distortion and not too low to ensure your voice is clear. Adjust the headphone volume for monitoring.
5. Connect Headphones:
If you have headphones plug them into the headphone jack on the bottom of the Blue Yeti. This allows you to monitor your audio in real-time and make on-the-fly adjustments.
6. Select in Software:
In your recording or streaming software (e.g., Audacity, OBS, or Streamlabs) choose the Blue Yeti as the input device. Adjust settings in the software to match your recording preferences.
7. Test and Tweak:
Conduct a test recording or stream to ensure everything is set up correctly. Listen for audio quality and adjust settings as needed including microphone positioning and gain levels.
8. Consider Accessories:
Enhance your setup with accessories like a pop filter to reduce plosive sounds or a boom arm for flexible microphone positioning.
By following these steps, you’ll have your Blue Yeti microphone set up and ready to deliver clear and professional audio for your recordings streaming sessions or any other audio projects.
Blue Yeti Microphone Recording Modes
The Blue Yeti microphone offers four recording modes, each designed for different audio capturing scenarios. Here’s an overview of the recording modes:
Cardioid Mode
Use: Ideal for solo recordings, streaming, and podcasting.
Description: Captures sound primarily from the front of the microphone, reducing background noise. Perfect for situations where the sound source is directly in front of the mic.
Bidirectional Mode
Use: Suitable for interviews or two-person conversations.
Description: Records from both the front and back of the microphone, making it great for capturing conversations between two individuals facing each other.
Omnidirectional Mode
Use: Perfect for roundtable discussions or capturing ambient sound.
Description: Captures sound from all directions, creating a 360-degree audio recording. Best for situations where multiple sound sources are spread around the microphone.
Stereo Mode
Use: Excellent for music recording or creating a stereo effect.
Description: Utilizes both the left and right channels to create a realistic stereo recording. Ideal for capturing the spatial aspects of sound such as music or certain environmental recordings.
Switching Modes
To switch between modes, use the pattern selection knob on the back of the Blue Yeti. Rotate the knob to select the desired recording mode based on your specific use case.
Understanding and utilizing these recording modes enhance the versatility of the Blue Yeti microphone, allowing you to adapt it to various recording situations with ease
Adjusting the Gain on Your Blue Yeti
Adjusting the gain on your Blue Yeti microphone is crucial to achieving the best audio quality without distortion. Here’s a step-by-step guide:
Locate the Gain Control:
On the back of the Blue Yeti microphone, find the gain control knob. It’s typically located near the headphone jack.
Turn the Knob:
Rotate the gain control knob clockwise to increase the gain or counterclockwise to decrease it. Start by setting the gain to the lowest position.
Monitor Levels:
Connect headphones to the Blue Yeti’s headphone jack. Speak or make sound into the microphone, and listen to the audio levels. Gradually increase the gain until your voice is clear and audible without distortion.
Check for Distortion:
Test the microphone with louder sounds or speech to ensure there’s no distortion. If you hear clipping or distortion, lower the gain slightly until the audio is clear.
Software Adjustments:
Open your recording or streaming software (e.g., Audacity, OBS, or Streamlabs) and adjust the input volume if necessary. Ensure that the software settings complement the gain adjustments on the Blue Yeti.
Test and Fine-Tune:
Record a short sample or conduct a test stream to confirm the audio quality. Listen for any issues and make additional adjustments if needed.
Consider Environment:
Be mindful of your recording environment. If it’s noisy, you might need to find a balance between increasing gain for your voice and minimizing background noise.
Connect it to your device
To connect your Blue Yeti microphone to your device, start by plugging the provided USB cable into the USB port on the bottom of the microphone.
Then connect the other end of the USB cable to an available USB port on your computer or recording device. Once connected the device should recognize the Blue Yeti as an audio input source.
Adjust your computer’s audio settings or open your recording software to select the Blue Yeti as the preferred microphone.
With the connection established you’re ready to start recording or streaming with the high-quality audio performance of the Blue Yeti.
Adjust gain and volume settings
To fine-tune the audio performance of your Blue Yeti microphone, it’s essential to adjust both the gain and volume settings for optimal recording quality.
Begin by locating the gain control knob on the back of the microphone. Rotate it clockwise to increase the gain for capturing quieter sounds or counterclockwise to decrease it for louder environments.
Simultaneously adjust the headphone volume knob to a comfortable level for real-time audio monitoring.
Striking the right balance between gain and volume ensures your voice is clear without distortion during recording or streaming sessions.
Regularly monitor levels and make adjustments as needed to maintain the desired audio quality.
Plug in the headphones
To complete your Blue Yeti setup, plug your headphones into the headphone jack located on the bottom of the microphone. This allows for real-time monitoring of your audio while recording or streaming.
Adjust the headphone volume using the dedicated control on the Blue Yeti to ensure you can hear your voice clearly and make any necessary adjustments for optimal sound quality during your sessions.
How to make the best out of your Yeti mic
To maximize the performance of your Blue Yeti microphone, start by selecting the appropriate recording mode based on your use case.
Position the microphone correctly considering the cardioid pattern for solo recordings or interviews. Fine-tune the gain settings to avoid distortion while ensuring clear audio.
Additionally invest in accessories like a pop filter and shock mount to minimize plosive sounds and vibrations contributing to an overall professional audio experience.
Yeti Microphone Setup & Software
Setting up your Yeti microphone and configuring the accompanying software is essential for optimal performance. Begin by connecting the Yeti to your computer using the provided USB cable.
Once connected, install the Blue Sherpa software from the official website to access advanced settings and firmware updates. In the software customize your microphone settings such as gain and polar pattern to suit your recording needs.
Regularly check for software updates to ensure your Yeti is equipped with the latest features and improvements, enhancing your overall recording experience.
Common Microphone Errors:
Distorted Audio:
Cause: High gain settings or speaking too closely to the microphone.
Solution: Adjust the gain appropriately and maintain a recommended distance from the microphone.
Background Noise:
Cause: Environmental factors or interference.
Solution: Choose a quiet recording environment, use noise reduction features if available, and eliminate potential sources of interference.
No Sound or Connection Issues:
Cause: USB cable problems or incorrect input settings.
Solution: Check USB connections, try a different cable, and ensure the microphone is selected as the input device in your computer’s settings.
Low Volume Output:
Cause: Low gain settings or software volume levels.
Solution: Increase the gain on the microphone, adjust software volume settings, and ensure headphone volume is appropriate.
Echo or Feedback:
Cause: Sound reflecting off surfaces or monitoring audio too loudly.
Solution: Use acoustic treatment in your recording space, reduce headphone volume, or adjust microphone positioning.
Driver Issues:
Cause: Outdated or incompatible drivers.
Solution: Update drivers from the manufacturer’s website or reinstall the drivers to ensure compatibility.
Popping Sounds (Plosives):
Cause: Forceful air hitting the microphone diaphragm.
Solution: Use a pop filter to reduce plosive sounds, or adjust microphone placement to minimize direct airflow.
Interference or Humming:
Cause: Electronic interference or ground loop issues.
Solution: Separate electrical devices, use quality cables, and consider using a ground loop isolator if needed.
All about Blue Yeti Mic Pattern Settings
The Blue Yeti microphone stands out with its versatile pattern settings, offering users the flexibility to tailor their recording experience to different scenarios.
In Cardioid mode the microphone focuses on capturing sound directly in front making it perfect for solo recordings podcasts and streaming. Bidirectional mode opens up possibilities for two-person interviews or discussions, capturing audio from both the front and back.
Omnidirectional mode creates an immersive experience by picking up sound from all directions, suitable for roundtable discussions or ambient recordings. Stereo mode utilizes left and right channels making it ideal for music recording or enhancing audio depth in diverse environments.
By utilizing the pattern selection knob, users can effortlessly adapt the Blue Yeti to their specific recording needs ensuring professional-quality audio across various applications.
Understanding The Blue Yeti’s Microphone Controls!
Understanding the Blue Yeti’s microphone controls is key to getting the best audio. On the back you’ll find a pattern selector knob that lets you choose between recording modes like Cardioid Bidirectional Omnidirectional and Stereo.
The front features a gain control knob for adjusting the microphone’s sensitivity while the headphone volume control lets you monitor your audio in real-time.
Familiarizing yourself with these controls ensures you can customize your Blue Yeti settings for different recording situations whether it’s solo voiceovers interviews or capturing ambient sounds.
Mastering these controls enhances your overall recording experience with this versatile microphone.
Blue Yeti microphone instructions
To set up your Blue Yeti microphone first connect it to your computer using the provided USB cable. Adjust the microphone’s pattern selection knob on the back for your recording needs like Cardioid for solo sessions or Omnidirectional for group discussions.
Fine-tune the gain and headphone volume controls for optimal audio quality ensuring a smooth and professional recording experience.
Setup your Blue Yeti on the desktop stand
Setting up your Blue Yeti on the desktop stand is quick and easy. Begin by unfolding the stand and placing it on a stable surface. Insert the Blue Yeti into the threaded mount on the stand ensuring a secure fit.
Adjust the microphone to your preferred angle, and you’re ready to start recording or streaming with your Blue Yeti on the convenient desktop stand.
Connect to your Blue Yeti to a Windows PC
To connect your Blue Yeti to a Windows PC, start by locating an available USB port on your computer. Use the provided USB cable to connect one end to the USB port on the bottom of the Blue Yeti microphone.
Plug the other end of the USB cable into the USB port on your Windows PC. Once connected, your computer should recognize the Blue Yeti as an audio input device. Open your computer’s audio settings select the Blue Yeti as the default microphone and adjust any additional settings as needed.
Now your Blue Yeti is successfully connected to your Windows PC and ready for use in your preferred applications.
Setup the Blue Yeti as your default audio device
To set up the Blue Yeti as your default audio device first connect the microphone to your computer using the provided USB cable. Once connected right click on the speaker icon in the taskbar and select Open Sound settings.
In the Sound settings navigate to the Input section and choose Blue Yeti from the list of available devices. Click Apply to confirm your selection, and now the Blue Yeti is set as your default audio input device for a seamless recording or streaming experience on your computer.
Setup headphones to listen
To set up headphones for monitoring on the Blue Yeti, locate the headphone jack on the bottom of the microphone. Plug your headphones into this jack.
Adjust the headphone volume using the control on the Blue Yeti to achieve a comfortable listening level. Now, you can monitor your audio in real-time while recording or streaming with your Blue Yeti microphone.
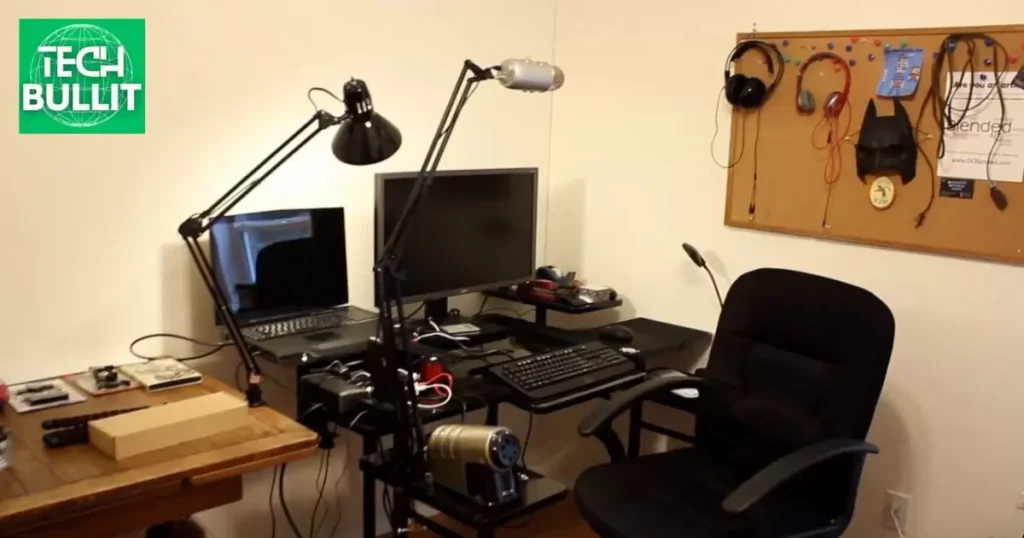
Where to position your Blue Yeti for good recordings
Position your Blue Yeti microphone on a stable surface such as a desk or table ensuring it’s free from vibrations. Face the front (where the Blue logo is) toward your mouth for optimal audio capture in Cardioid mode.
Experiment with distances of 6-12 inches for solo recordings finding the sweet spot that delivers clear and balanced sound.
How to position your Blue Yeti mic to minimize noise
To minimize noise with your Blue Yeti, position it away from potential sources of interference like fans or computer vents. Use the Cardioid mode and face the microphone’s front towards the primary sound source while avoiding reflective surfaces.
Experiment with the microphone’s placement to find the optimal position that minimizes background noise and enhances your recording quality.
Use your Blue Yeti sideways, not from the top
Using your Blue Yeti sideways instead of from the top can help minimize plosive sounds. Position the microphone horizontally with the Blue logo facing sideways reducing direct airflow and lessening the impact of breath sounds on the microphone diaphragm.
This alternative orientation can contribute to cleaner audio recordings by mitigating the effects of plosives.
How to Setup Blue Yeti Microphone Windows 10?
To set up your Blue Yeti on Windows 10, connect it via USB, then right-click on the speaker icon in the taskbar. Choose “Open Sound settings,” select Blue Yeti as the input device, and click “Apply.”
Adjust the gain using the Yeti’s knob and ensure it’s recognized as the default microphone in your recording or streaming software.
Connecting the Blue Yeti Microphone to Windows 10
Connect your Blue Yeti to a Windows 10 PC using the provided USB cable. Access the Sound settings, select Blue Yeti as the input device, and confirm your choice.
Ensure proper recognition in recording applications by adjusting settings and gain on the Blue Yeti for optimal performance.
Configuring the Blue Yeti Settings
To configure Blue Yeti settings, connect the microphone to your device and install the Blue Sherpa software. Open the software to access advanced settings such as gain control and pattern selection.
Adjust these settings based on your recording needs and regularly check for firmware updates to keep your Blue Yeti equipped with the latest features. Test the configurations to ensure optimal performance for your recording sessions.
Testing the Blue Yeti Microphone
To test your Blue Yeti, connect it to your device and open your recording software. Speak into the microphone at your typical recording volume and monitor audio levels.
Adjust settings as needed for optimal sound quality ensuring your Blue Yeti is ready for clear and professional recordings.
Using the Blue Yeti Microphone with Other Applications
For other applications, set Blue Yeti as the default microphone in your computer’s audio settings. Ensure compatibility by checking application-specific preferences.
Adjust the microphone settings such as gain and pattern selection to optimize performance across various applications guaranteeing high-quality audio output.
Troubleshooting the Blue Yeti Microphone
If experiencing issues check USB connections try different cables and ensure Blue Yeti is selected as the input device in system settings.
Update or reinstall drivers to resolve driver-related problems. Adjust gain settings and microphone positioning to eliminate distortion or background noise ensuring optimal performance.
Frequently Asked Questions
How do I connect my Blue Yeti microphone to my computer?
Plug the USB cable into your computer and the other end into the Blue Yeti. It’s that simple!
Can I use the Blue Yeti with my smartphone?
If your smartphone has a USB-C or USB-A port, you can use an adapter to connect the Blue Yeti for high-quality recordings.
What is the best recording mode for interviews on the Blue Yeti?
Select the “Cardioid” mode for interviews. It captures sound from in front of the microphone, reducing background noise.
How do I adjust the volume on the Blue Yeti?
Use the headphone volume control on the microphone itself. It allows you to easily adjust the volume for real-time monitoring while recording.
Final thoughts
Using the Blue Yeti microphone is simple and rewarding. First ensure the microphone is connected to your computer via USB. Adjust the microphone gain by turning the knob on the back to find the right sensitivity for your voice.
Position the microphone on its stand or mount it on a boom arm for convenience. Select the appropriate polar pattern based on your recording environment – cardioid for solo recordings, bidirectional for interviews, and omnidirectional for group discussions.
Monitor your audio through the headphone jack on the bottom of the microphone for real-time feedback. Take advantage of the mute button when needed.
Utilize the Blue Sherpa software to customize settings and update firmware. Experiment with different recording distances and angles to find the optimal setup for your specific needs.
Remember to record in a quiet environment to capture high-quality audio. With these simple steps you’ll be able to unleash the full potential of your Blue Yeti microphone and create professional-sounding recordings effortlessly.

Lucas Steele is an experienced professional with 10 years in education. “Teachbullit” is his domain, reflecting expertise in teaching and learning.