Microphone drawing is a simple art form where individuals create visual representations of microphones using various artistic techniques. It involves sketching or doodling to capture the unique shape and features of a microphone creatively and expressively.
Embark on a creative journey with A Guide to Microphone Drawing! Unleash your artistic flair as you discover easy steps to bring microphones to life on paper.
From basic sketches to detailed designs, this guide is your key to expressing the rhythm of sound through the strokes of your pencil. Let your imagination soar and turn the ordinary into an extraordinary visual symphony!
Drawing a microphone can be fun and simple. Start with a basic oval shape for the microphone head. Add a slender cylinder for the microphone body beneath the head. Don’t forget to include details like buttons and a stand to complete your microphone drawing.
Understanding Microphone Drawing
Drawing a microphone involves understanding its basic components. Begin with an oval for the microphone’s head and then connect it to a slender rectangle for the body. Add a small circle at the top for the diaphragm. Details like wires and controls can be included for a more realistic touch.
Consider the perspective in your microphone drawing, keeping in mind the unique features of various designs. Show depth by adding shading or emphasizing certain parts. Experiment with different styles to capture the essence of each microphone.
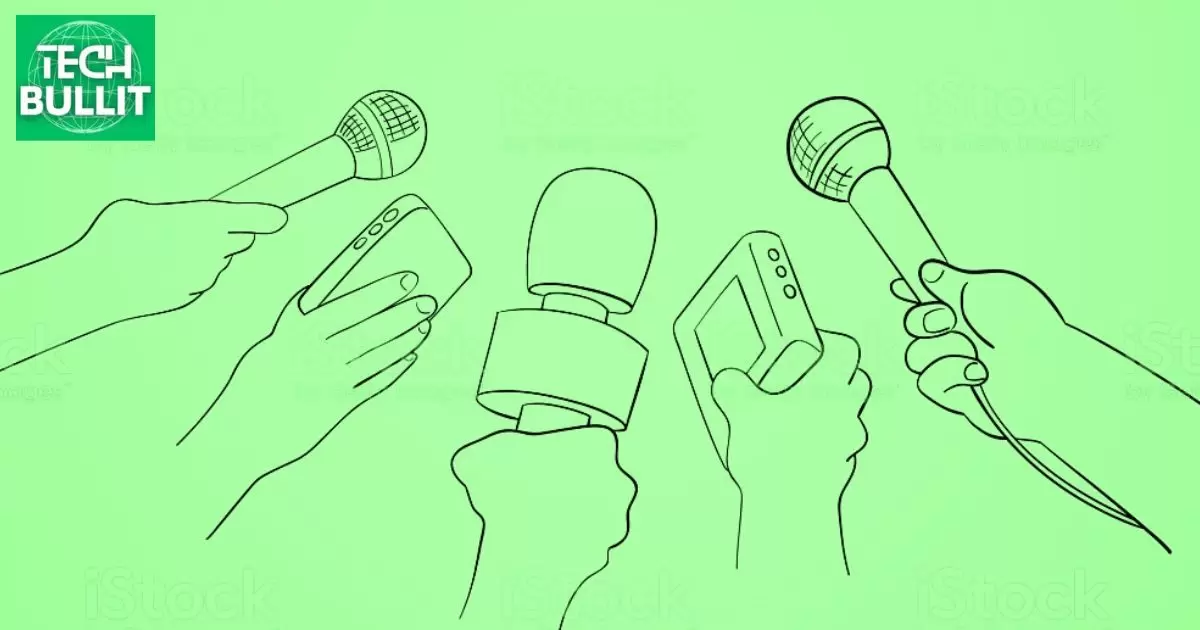
If you’re looking for inspiration, explore the Best Wireless Microphones to ensure your artistic representation aligns with the latest advancements in microphone technology.
Tools and Materials
To start drawing, gather your tools and materials. You’ll need pencils of varying hardness for different strokes. A good eraser helps correct mistakes, and smooth paper provides a clean surface. If you want to add colour, consider using coloured pencils or markers for a vibrant touch.
Rulers and compasses can aid in creating precise lines and shapes. Experiment with different textures and surfaces to find the combination that suits your drawing style. Having a well-equipped workspace enhances the drawing experience and allows for more creativity.
Advantages and disadvantages of microphone drawing
Here’s a simple table outlining the advantages and disadvantages of microphone drawing:
| Aspect | Advantages | Disadvantages |
| Creativity | Allows artistic expression and creativity. | Limited precision compared to digital art. |
| Accessibility | Requires minimal equipment (just paper and pen). | Limited accessibility for those with physical disabilities. |
| Cost | Low-cost compared to digital drawing tablets. | Limited tools and effects compared to digital tools. |
| Portability | It can be done anywhere with basic drawing tools. | Lack of undo/redo feature compared to digital drawing. |
| Learning Curve | Easier for beginners to start. | Limited learning of digital tools and software. |
| Tactile Feedback | Offers tactile feedback with the physical drawing process. | Corrections are less straightforward compared to digital drawing. |
| Technology Integration | No need for electronic devices or software. | Limited options for digital editing and sharing. |
Remember that the advantages and disadvantages can vary based on individual preferences, skill levels, and specific use cases.
Step-by-Step Microphone Drawing Tutorial
- Basic Outline: Start with a simple vertical line for the microphone stand. Add a circular shape at the top to represent the microphone head.
- Details of the Microphone Head: Divide the circular shape into two parts – the top and bottom sections. Add a small cylinder shape at the bottom for the microphone connector.
- Microphone Stand Details: Enhance the stand by adding curves or angles to give it a realistic look. Include any specific features or designs on the stand, if applicable.
- Shading and Shadows: Determine the direction of light and add shading accordingly to create a sense of depth. Include shadows beneath the microphone to anchor it to the surface.
- Texture and Reflections: Add texture to the microphone head to indicate its surface material (e.g., metal, mesh). Consider adding reflections or highlights to give the drawing a polished appearance.
- Background Elements: Decide if the microphone will be part of a larger scene or if it will be a standalone drawing. Add context or background elements to complement the microphone.
- Colouring (if applicable): Choose appropriate colours for the microphone and background. Pay attention to colour gradients and variations for a more realistic look.
- Fine Tuning: Review your drawing and make any necessary adjustments to ensure proportions and symmetry. Add any additional details or accents to enhance the overall visual appeal.
- Practice and Experimentation: Practice drawing microphones regularly to improve your skills. Experiment with different styles and techniques to find what works best for you.
- Reference Images: Use reference images of microphones to observe details and improve the accuracy of your drawings. Analyze different microphone designs and incorporate elements that align with your artistic vision.
Choosing a Reference Image
Choosing a reference image is crucial for drawing. Find a clear photo with details to guide your drawing accurately. Look for images online, ensuring they are high-quality and showcase the microphone from various angles. A good reference sets the foundation for a realistic and well-proportioned drawing.
When selecting a reference image, pay attention to the lighting and shadows. A well-lit photo helps you understand the microphone’s shape and details better. Remember, a clear and detailed reference image makes the drawing process smoother and more enjoyable.
Basic Shapes and Proportions
Drawing begins with basic shapes and proportions. Start by breaking down the microphone into simple geometric forms, like circles and rectangles. This helps establish the overall structure.
Ensure accurate proportions by comparing the sizes of different parts, like the body and the grille, for a realistic representation. Mastering basic shapes lays the foundation for a successful microphone drawing.
Use guidelines to maintain proper proportions throughout your drawing. These lines act as reference points and help you keep everything in balance. Starting with basic shapes and paying attention to proportions makes the drawing process more manageable and enjoyable.
Emphasizing Textures and Materials
Highlighting textures and materials adds realism to your microphone drawing. Use shading techniques to show metal surfaces, like the smooth body or the textured grille.
Experiment with pencil strokes to convey the different materials, such as the glossy buttons or the rubbery cable. By paying attention to textures, you enhance the overall visual appeal of your drawing.
Consider the tactile qualities of each part, whether it’s the sleekness of a metal casing or the softness of a foam windscreen.
Incorporate shading variations to create depth and bring out the tactile feel of different materials. Adding textures and materials gives your microphone a lifelike quality that captivates viewers.
Adding Shadows and Highlights
Adding shadows and highlights brings your microphone drawing to life. Consider the direction of light and create shadows accordingly, emphasizing depth and dimension.
Use darker tones for shadows beneath buttons or along the microphone’s body, while lighter shades highlight areas struck by light, like the top of the microphone.
To enhance realism, focus on where the light hits the microphone, creating highlights on reflective surfaces.
This contrast between light and shadow adds a three-dimensional effect, making your drawing more visually appealing. Skilful use of shadows and highlights adds depth and realism to your microphone artwork.
Incorporating Backgrounds
Incorporating backgrounds complements your microphone drawing. Choose a simple backdrop that doesn’t distract from the main subject.
It could be a solid colour or a subtle pattern to enhance the overall composition. Consider the context of your drawing, whether the microphone is on stage in a studio or outdoors.
Tailor the background to suit the setting, creating a harmonious scene. Remember, a well-chosen background adds context and visual interest to your microphone artwork.
Adding Creative Flair
Elevate your microphone drawing by adding a touch of creative flair. Experiment with different patterns or textures to make the microphone stand out. Consider incorporating unique colours or gradients for a vibrant and eye-catching effect.
Don’t be afraid to think outside the box and add personal touches, like custom logos or funky designs, to make you’re drawing truly one of a kind. Adding creative flair not only makes the artwork more enjoyable but also allows you to express your style in the process.
Showcasing Microphone Artistry
Showcasing microphone artistry involves highlighting the unique features of your drawing. Use contrasting lines and shading to emphasize the microphone’s details, making it visually striking. Consider placing the microphone in a dynamic pose or setting to add an extra layer of interest to your artwork.
Experiment with various backgrounds or framing options to enhance the overall presentation. Whether through digital platforms or traditional displays, sharing your microphone drawings with others allows your artistry to be appreciated and enjoyed by a wider audience.
Resources and Further Inspiration
Explore additional resources and find inspiration to enhance your microphone drawing skills. Online tutorials and drawing communities offer valuable tips and techniques. Reference photos of different microphone models can provide details for a more realistic representation.
Art books and magazines may showcase diverse artistic styles and inspire fresh ideas for your microphone drawings. Don’t hesitate to attend art workshops or seek feedback from fellow artists to continue improving. Remember, the journey of learning and creating is ongoing, and there’s always more to discover and be inspired by in the world of art.
Frequently Asked Questions
How do I start drawing a microphone?
Begin by sketching a simple cylinder shape for the mic body, then add a smaller cylinder on top for the microphone head.
What details should I include in my microphone drawing?
Focus on the mic’s grille buttons and any distinctive features. Keeps it simple, emphasizing key elements.
Can I use colours in my microphone drawing?
Feel free to add colour to make you’re drawing more vibrant. Use shades and highlights to enhance the details.
Is it necessary to use a reference for drawing a microphone?
Using a reference can be helpful for accuracy, but don’t hesitate to add your creative touch to make it unique.
Any tips for improving my microphone drawing skills?
Practice regularly observing real microphones and exploring different styles. Experimenting will help you refine your technique over time.
Conclusion
Drawing a microphone can be a fun and rewarding experience, especially when following a helpful guide. The step-by-step instructions provided in the guide simplify the process, making it accessible for artists of all skill levels.
By breaking down the drawing into manageable parts, the guide ensures that even beginners can create a realistic and impressive microphone illustration. Practising with the guide allows artists to improve their overall drawing skills, such as understanding proportions and capturing details.
The guide emphasizes the importance of observation, encouraging artists to study the microphone’s features and replicate them accurately closely. This not only enhances the quality of the microphone drawing but also cultivates an eye for detail that can be applied to other artistic endeavours.
The guide serves as a valuable resource for those looking to enhance their artistic abilities through the creation of a microphone drawing. Whether for personal enjoyment or as part of a broader artistic journey, following the guide provides a structured and enjoyable way to explore the world of drawing.

Lucas Steele is an experienced professional with 10 years in education. “Teachbullit” is his domain, reflecting expertise in teaching and learning.